Showing posts with label craft. Show all posts

Sunday, January 5, 2014

2013 52 in 52 #21 - Christmas Cross framed decor

I have been seeing pins like this everywhere on Pinterest.  The last one that I looked at got me even more inspired to re-create something like this just because it was awesome and had glitter.  Who doesn't love glitter?  Now, I understand that this pin is from www.etsy.com and that someone is trying to sell that, and I certainly don't want to undermine anything that another person is trying to sell; I am just going to give you my opinion.  What I am going to show you how to create today is relatively simple if you have the smallest bit of artistic talent.

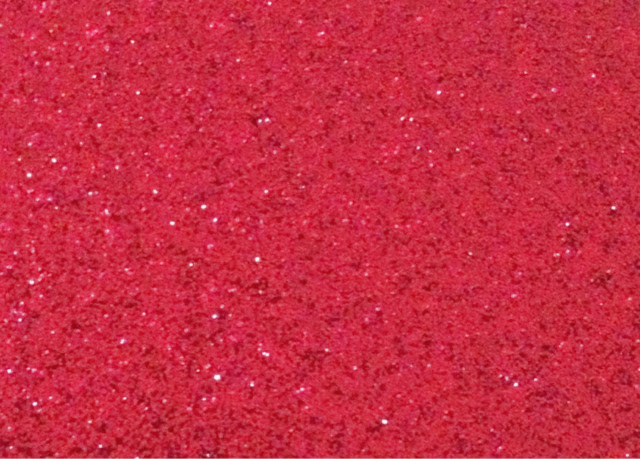
The first step is to decide how big your frame is and what materials you want to use.  I used this festive tan and white holiday paper with red star accents (right), and this awesome red glitter paper (left).  I purchased both of them at Hobby Lobby before Christmas this year in their scrapbook paper area.  I already had the frame (11x14ish) so I didn't have to purchase one.  For crafts like this, I just use existing frames and switch out the pictures for crafts like this over the holidays.  I don't, personally, have the storage in my garage for several different sized frames like this. 

Next, you should decide on a shape.  You could really make this any shape that you wanted.  I chose a cross, but this would also look awesome with a Christmas tree, a Christmas ornament shape, or a star.  I might try it again with a different shape next year to see which I like better. 

The next step is to cut out the shape from your glitter paper.  I drew the shape on the back of the glitter paper which is not bumpy and is white, so it makes it easier to see where you have drawn.  Cut out your shape and make any modifications to the shape at this time - when I first cut mine out, one of the 'arms' of my cross was almost double the size of the matching arm.  That had to get fixed because the goal was not to make this look like it was a child's art project! 

Then you affix your printed paper in the frame however you want.  I taped mine down to the existing white cardboard that was in the inside of a frame.  Make sure that it is straight and lines up with the other paper if you have to mesh two pieces together. 

Then glue/tape your cross onto your paper.  You can see in my photo above that I just used four pieces of regular clear single sided tape.  I just used whatever materials I had lying around my house for this.  I could have also glued this down with just some basic glue or Mod Podge.   

Lastly, put your creation into a frame.  We housed ours on our 'Christmas mantle' this year, but I would like to find a place to hang it on our wall at some place. 

Enjoy!


Saturday, December 7, 2013

52 in 52 #32 - Twine Wrapped Star - front door decoration

I saw this pin on Pinterest and thought this would be an awesome idea for our front door.  Too bad that the pin was actually just a picture.  I HATE that!  Give me some direction.  Help me understand how you created something that looks like this.  Don't just show me a picture and expect me to be able to create something even remotely similar.  Luckily, I knew that I didn't want the entire middle of the star covered by the twine, but that I wanted each 'arm' of the star individually wrapped. 

I have been wanting to replace our sad front door wreath for years, but Christmas decorating always gets overwhelming for me and I run out of steam usually after the tree and the mantle. 

This year I swore it would be different.  All of my children are getting older now and are starting to appreciate the season more and more and so I need to get my butt in gear and actually work on décor for Christmas. 

For this craft you will need:
- 10 paint stir sticks
- 1 bundle of thin twine
- wood glue
- clothes pins
- bells, ribbon, etc for decoration

Let me say that a nice woman at our local Lowes let me have 10 of these paint stir sticks.  I was willing to pay her for them, but according to her they were not permitted to charge for them and were only supposed to give the customer one per can of paint. 

You will first need to determine the shape and correct size of your star relative to your front door.  I had to 'cut' about 2 inches off of each stick in order to get the correct size for our front door, but this will depend on how big you want your star, how wide your door is, etc. 

Use the wood glue and glue your star together.  Remember, to glue all the 'blank' sides of the stick to one side.  I say this because I forgot and about half of the 'arms' of my star have the blue ink words on them.  Whoops.  Hold each piece together with a clothes pin while the glue is drying.  I let mine dry for multiple hours to ensure that it was fully stuck together and wasn't going to come apart in the wrapping process. 

Now, one of the things that I didn't quite think through was the logistics of how I was going to wrap the actual star in twine.  I mean, one end is loose but the other end is attached to a roll about the size of a roll of toilet paper.  Did I really think that I was going to pass that roll around and around like 400 times while this was getting wrapped?  No, I didn't... and I didn't end up doing it that way either.  I unwrapped about 15 - 20 ft at a time that way it was manageable.  I hid the knots from the beginning and when each piece got tied together in the side that I felt would be the back that way it looked better on the front. 


I wrapped all the way around the star with the twine as tight together as possible.  I went back at the end and wrapped the corners around the outside of star inside of around the stick.  It was not working out as well trying to wrap them completely around the stick, so I had to come up with a different way. 

Add your decoration of choice and hang on the door. 

Enjoy!